
SERVES 2-4
INGREDIENTS
For Ghee rice
Jeerakasala/kaima rice-2 cups
Water-4 cups(nearly, alittle less)
Ghee-2tblsp.
Oil-2 tblsp.
Cardamom pods-3
Cloves-4
Cinnamon-1.5 inches
Salt- 1 1/2 tsp.
Lime/lemon juice-2 tsp.
Salt-1 1/2 tsp.
For marinade
Yogurt/Curd-2 tblsp.
Garam masala-1/2 tsp.
Salt-1/4 tsp.
For Masala
Chicken pieces-500 gms
Onion-3 medium onions finely sliced
Green chillies-9 (ground to paste,4/6 for mild spice)
Garlic-8 cloves (ground to paste)
Ginger-2 inch pieces (ground to paste)
Tomatoes-2 large chopped
Coriander leaves-1/4 cup finely chopped
Mint leaves-8-10 finely chopped
Turmeric powder-1/2 tsp.
Garam masala powder-1/2 tsp.
Coconut grated-1/4 cup
Saunf- a pinch
Oil-2 tblsp.
Salt-to taste
For garnish(Optional)
Onion-1 small finely sliced
Ghee-2 tblsp.
Cashew nuts-6-8
Raisins-4-6
METHOD
Marination
Marinate chicken with curd , garam masala and salt for atleast half an hour in the fridge.Curd ensures that the chicken will be moist and tender after cooking.
For Masala
1.Heat a large heavy bottomed pan on medium flame with oil.When hot, add the finely chopped onions and saute till it becomes transparent,light pink,soft and wilted (takes about 10-15 min)
2.Add green chilly paste and saute till raw smell fades. Next add ginger garlic paste and saute for about a minute or so.
3.Add the turmeric powder and saute for few seconds followed by the garam masala till raw smell fades.
4.Add chopped tomates and cook till it becomes soft and squishy and combines well with the onions.
5.Add the chicken and mix to combine and cook on a low heat for about 30 minutes till almost cooked. Then ground coconut to paste and saute this paste with a little water on a separate pan and add this to the masala. Mix well. Finally add the chopped coriander and mint leaves and salt to taste.Cook chicken till you get a thick gravy. Turn off the heat,close the pan with a lid and keep the masala mixture aside for layering with the rice later.

Ghee Rice
1.Wash rice till clear and soak rice for 15 minutes.(this can be done when your making the masala)
2.Heat Ghee and oil in a large pan and add the whole spices i.e. cardamom,cloves and cinnamon till u get a nice aroma. Then, add drained rice and fry rice for about 10-15 minutes on medium heat. While rice is getting fried, in a saucepan bring to boil water, lemon/lime juice and salt.
3. Add the boiling water to the fried rice and when you see bubbles, cover and cook on a low flame for 15 minutes stirring in between for even cooking. After rice is cooked immediately transfer rice to a large dish/ plate to avoid it from being overcooked, this stage is crucial. Do not cover and let it cool.Rice should taste cooked and not have any raw bite to it.
Layering the biryani
1.Take a deep heavy bottom pan or non stick pan or a baking dish. First spread chicken masala at the bottom and then layer on top with rice. With this amount of rice, only one or maximum two layers is possible. Always start with masala and end with rice on top for layering.
2.If you do not have a good lid that covers the pan completely so that no steam can escape. Then make a dough with maida/all purpose flour and water, and after putting the lid seal it with the dough. And cook on simmer/v.low flame for 30 minutes or so. Alternatively, preheat oven to 180 C/350 F/GM 4 and bake in a baking dish covered tightly with foil for 25- 30 mins.
3.Prepare garnish by heating ghee in a saucepan and frying cashews till golden brown and then remove and drain them in a tissue. In the same pan,add raisins and when it puffs up, remove from heat and drain. Finally saute onions till golden brown and keep aside.
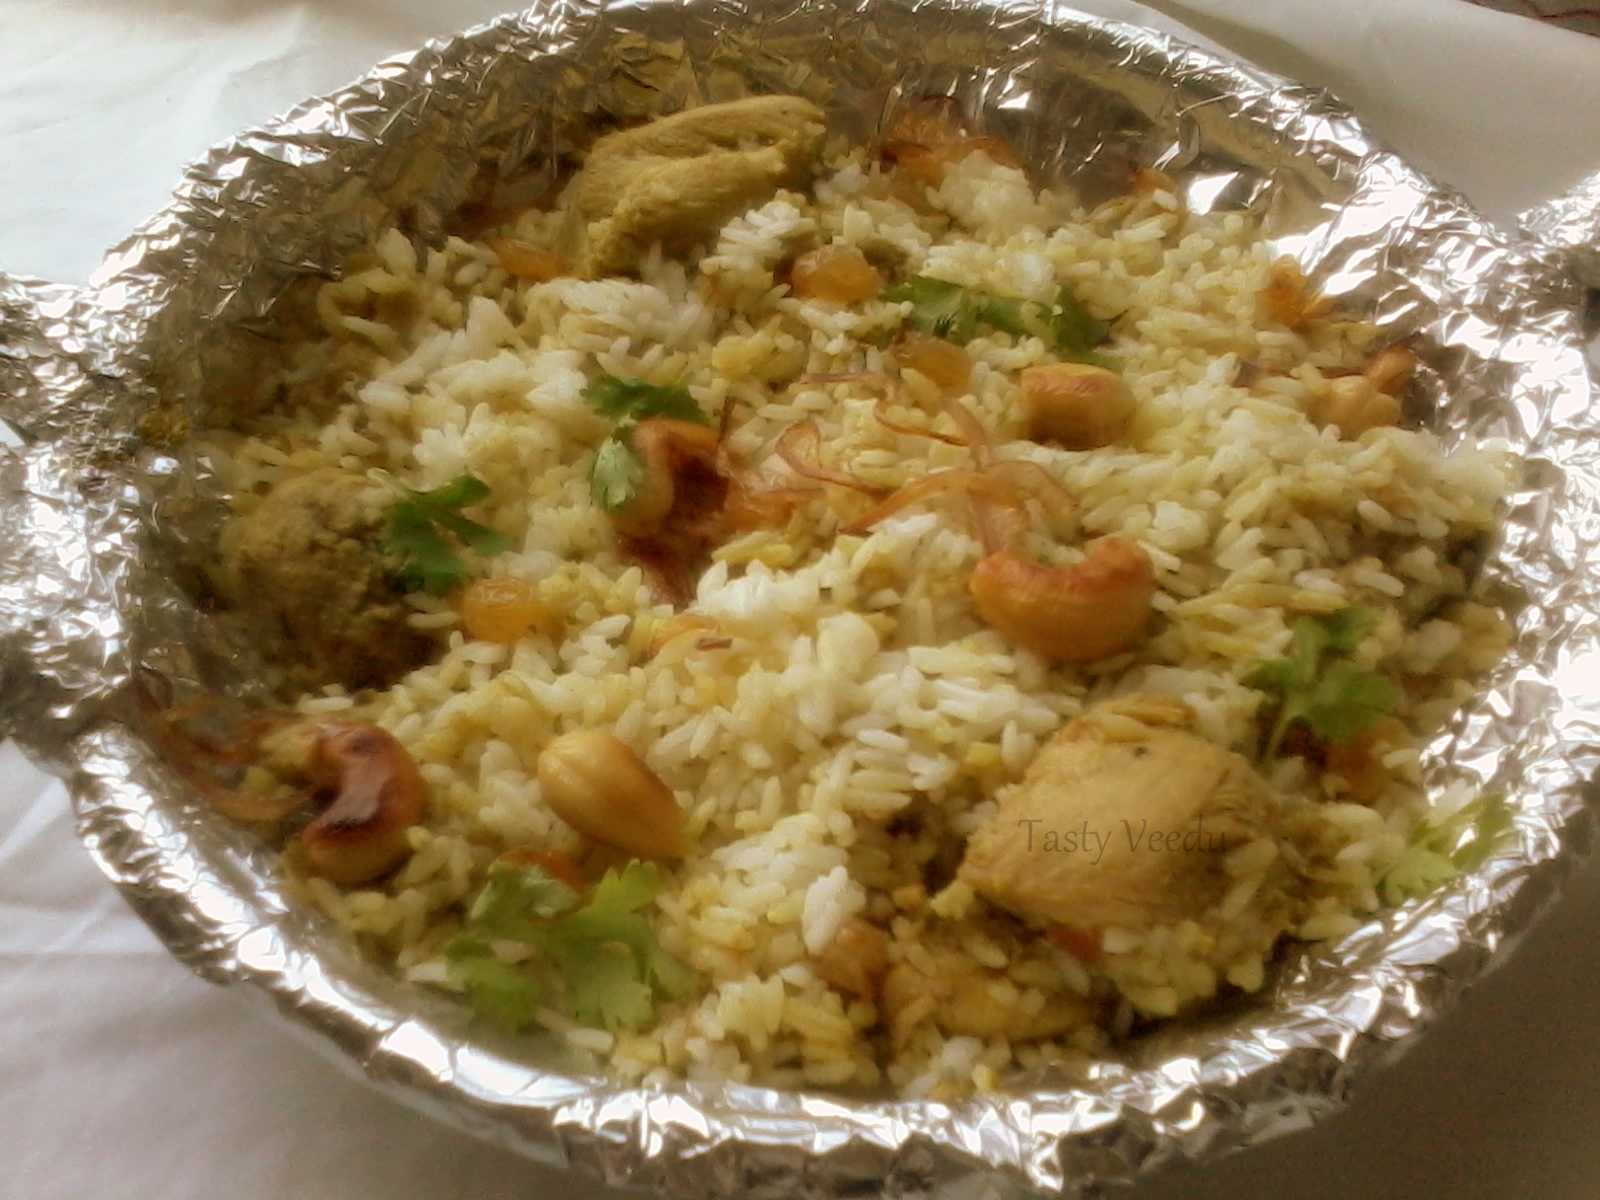
4.After 30 minutes slowly lift off lid and see if steam is coming from top and you get a nice aroma of biryani. Garnish with the fried onions,raisins and cashews. Serve hot with raita, pappad and pickle.
P.S. - You may find different recipes online for Malabar Chicken Biryani,this is our own way of preparing Malabar Chicken Biryani. We've provided a detailed step-by-step for beginners and for those who aren't familiar with the preparation of malabar style biryani. Please use the comment form for further queries.
delicious..
ReplyDeleteThanks for sharing this delicious malabar chicken biryani recipe. It really helps us to prepare this dish easily because of the step-by-step procedures that you write clearly and easily to follow. also I appreciate the great presentation of the dish and its image that also provided on this article. I hope you will continue to published more delicious recipes like this. Thanks again, More Power !! :)
ReplyDelete